Thursday, 26 September 2013

HMS Sophie - part V

Finally I am done.... (well almost.. ;) - read on)

I decided for now to skip the horisontal ratlines.. It is a lot of fiddling and I have just over two weeks to do 3 more ships so this kind of detail will have to wait. 
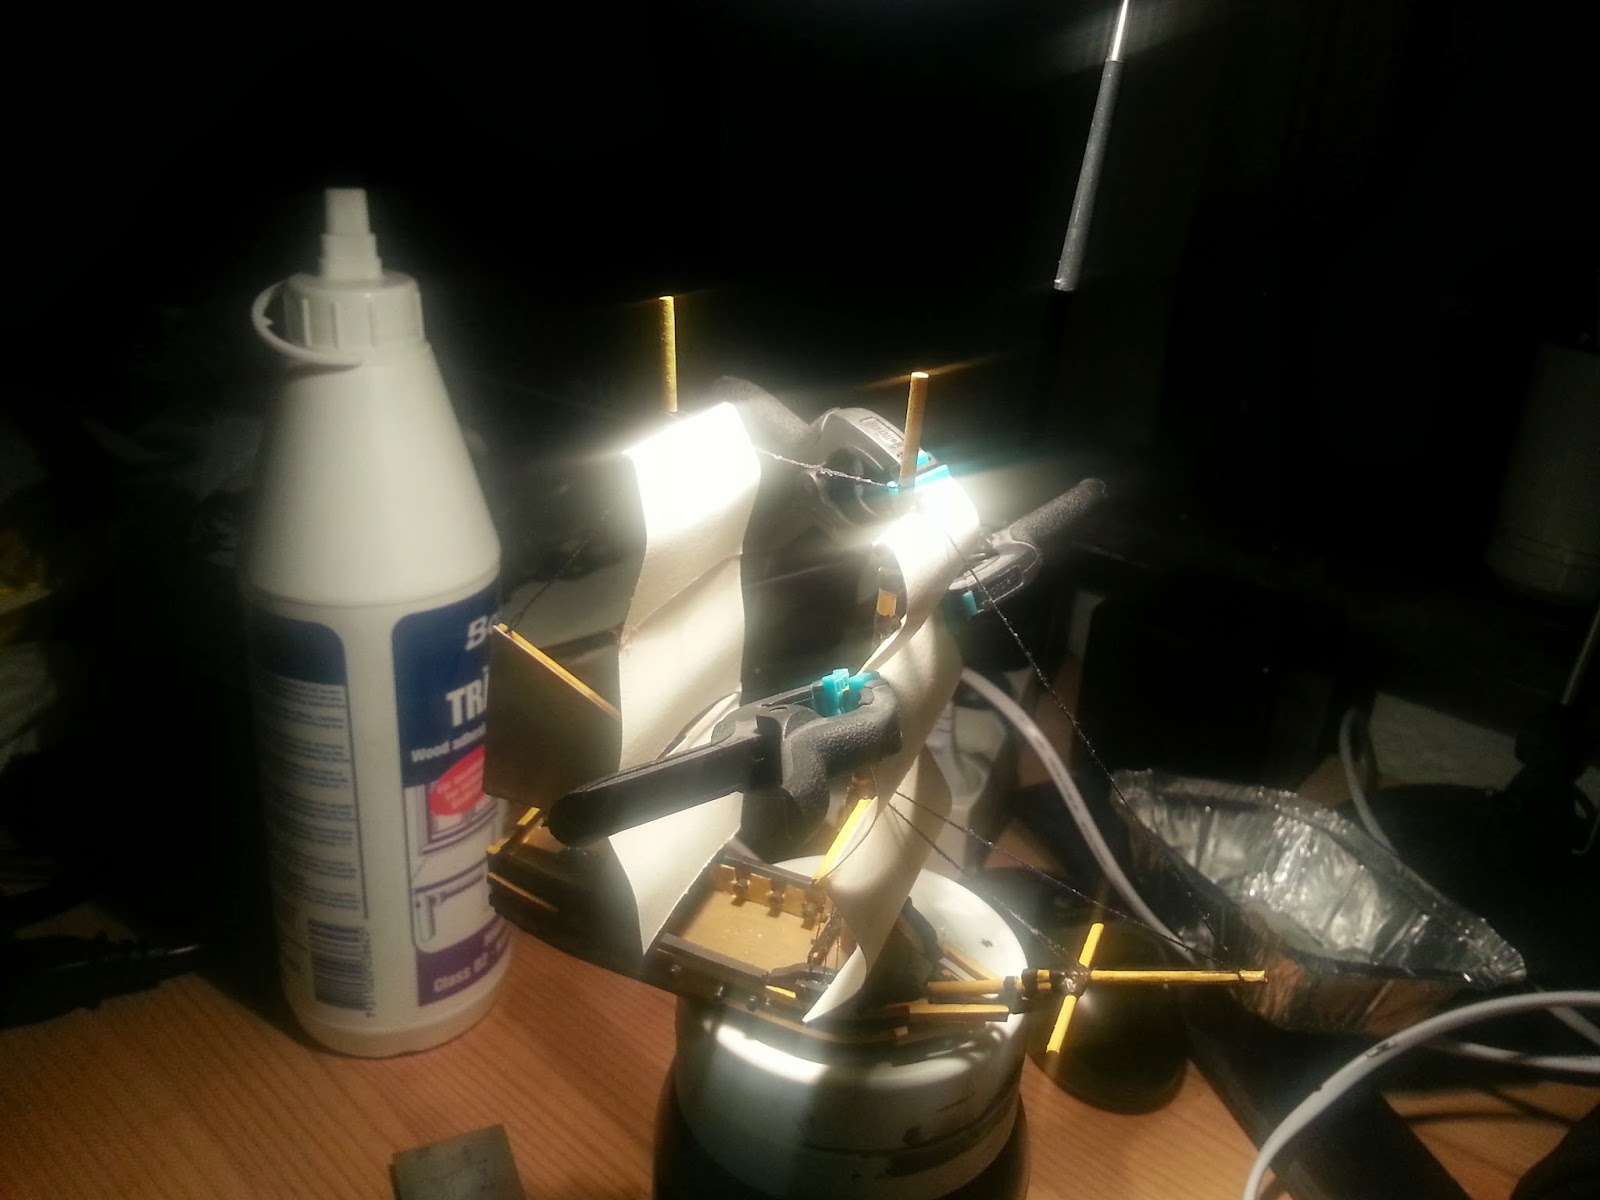
Adding sails - unfortunately I didn't think before adding the sails to the main mast. As you can see there is more or less NO wind in the sails..  It went better with the foremast.

It pays off to make sure the sails stay where they are supposed to be while the PVA glue dries ;)

I have no clue as to what the fore sails are named.. and I only added one since I had made an error in placing the lower part of the rigging too low on the mast. Instead I opted for securing it with a line to the spar.
Another mistake I made here (and which can be seen in the picture above) is that I glued the line to the fore sail with super glue.. and now I have a semi see through part of the sail.. DOH!! That's what you get for being impatient!

All sails done. I should have made the sail above the quarterdeck more bent as well, but I figure I can correct that on the next ships.

Starboard view with all the sails glued in place.

Even with the fore sail not made correctly (or at least as Mark made his) I am quite satisfied with the overall look.

Port view of the ship. Again you can easily see the aft sail looking a bit too flat.. 

Ready to hoist the anchor.. 

And what about the "almost done".. Well - I need to touch up a few places with fresh paint and most importantly I need to figure out how I do the flags. I will probably see what I can find on the net and then print something.. if I can get it to line up properly on both sides.

Next up is the speedbuilding of three more ships.. :) I hope you have enjoyed it so far.. I know I have.... 

Sunday, 22 September 2013

HMS Sophie - part IV

Lots of progress over the last few days, inclusive a minor color change as well. It took a few tests to get a color I was happy with, but the one seen below was what I ended up with. 

First shot of the first attempt at getting the yellow on the ship. The original Sophie didn't have the ekstra sides added (the two black stripes along the hull) and with the above scheme I was going for a checkerboard kind of style, where the open gunports and cannons would appear as black squares amongst the yellow line.

 Sadly the overall impression was that the entire ship looked a bit bland so I decided to paint it up black again and then paint the sidebars yellow instead. it also fit better with the bow that had the two yellow bars added.

Freehand attempt at stern decoration. It turned out fairly well I think.. even though my hands are shaking ;)

Masts being painted and a view of the deck. You can also see the first real glimpse of the new sidebards in yellow.. It gives much more "sparkle" to the ship. 

Handheld spotlight (yeah - doesn't work that well)

Handheld flash on the port side (still doesn't work well)

Sideview with a test fitting of the masts and a better view of the yellow sidebars.

Topview where the brownish paint of the deck can be seen. I painted up a skylight at the quarterdeck though I am not sure there was one.. But it breaks up all the brown ;)

Stern view with the masts glued in.. hoping I was really done with it all.

Onwards to rigging. As per Mark Burgess instructions I took 3 lines of thread and bound them around the main mast just above the spar. Then I spread them out a little and glued a piece of card on to hold them in place.

A better view of the card that holds the line in place. (I need to remember to paint that up as well ;))

All the rigging has been done, and heres a few shots from different angles. After all the lines had been added, I painted them all with PVA glue to keep them in place and lend some strength to them as well. I might touch them up with a little bit of black though. I am stille considering adding a few horisontal lines to the current ratline setup, but I am afraid it will be a tad to fiddly to attempt.. Thick, shaking fingers and all.


After touching up the rigging with black, the next step is adding sails. I have still to decide if she should have full sails or just fighting sails.. 

Wednesday, 18 September 2013

HMS Sophie - part III

So... new masts have been added.. And the entire ship is primed and ready for painting.. 

Demasted....

New masts fitted

Ekstra mast stuff added to the main mast (no naval knowledge at all so haven't got a clue what they are called ;))


Bow view


Starbord bow


Waterview of the bow

Seagull view of painted ship.

Starboard view of painted ship.


Next step is to find the right yellow/buff/ochre that fitted a British ship of war. And figure out exactly where to put what colors.

As always... comments, critque, suggestions etc are most welcome!


Friday, 13 September 2013

HMS Sophie - part II(a)

Riiiiight..... total mast failure.. sigh... so here goes the sccond post tonight....


First of all, the spars are sitting way too close to each other because I made the lower and middle section of the masts too short... I decided to glue the spars on anyway... just because I could... But I really have to make new masts.. So I was thinking about the mast thickness as it felt a little too thin to me.

Here you can see the current masts, approximately 2,5mm thick and between the masts a bambus skewer I happend to find in my wood box (I know Mark wrote bambus skewer as well on his blog, but I didn't think the grill sticks I had was too far off.. And to justify my self a little, Mark didn't write how thick the skewer was supposed to be :)) The new bambus skewer is 3mm thick and that half mm makes a world of difference in this scale. I really should replace the bowsprit base with one of the bambus skewer thickness, but I will skip that for Sophie. Once I move on to the next ships I will use the bambus instead.

So, no more for today I think.. I will begin working on a new set of masts.. (another sideeffect will be that there might actually be enough thickness for me to drill holes for the backward pointing spars.. ).

Captain Paludan signing off for tonight..... 

HMS Sophie - part II

Ok, besides finishing a few 15mm Teutonic Knights and prepping for the last two stands of their mounted sergeants I have been working on HMS Sophie as well. 

Even though she looks terrible up close... step back some 20-30 centimeters and the illusion holds up... YAY!


Above she has been fitted with all 18 guns and I have begun some detailing on the quaterdeck.

More detailing (and the Teutonic sergeants in the background as well). 

A better look of the stern - it is clear that almost nothing is properly aligned ;)


Forecastle and quarterdeck detailing done. Also some details have been added to the bow - not sure what these things are called.

Stern view.

Another shot of the port side.

Starboard side with all the detailing.

Close up of the bowsprit. Besides wood glue to hold it together I have used paper strips dipped in thinned down wood glue.. when it dries up it should be pretty solid.

 Another view of the bowsprit. It seems pretty huge, but I think it will be ok one the masts gets put in place as well.


Bow view - it looks fairly impressive (even for a sloop of war).

Initial work on the masts have begun.. Unfortunately I have to wait for everything to dry before I can continue :)

I am seriously considering getting some guns and crew from Rod Langton just to see how it would look (it sorta goes against the whole "cheap" idea.. but hey.. real guns and real crew would look SO cool... )

Monday, 22 July 2013

HMS Sophie - part I

Finally got some sparetime to begin working on HMS Sophie.. Trying to follow Mark Burgess instructions as closely as possible. 

First I copied the drawing for the ship and cut out the first level of the hull.


After adding 3 layers to the hull, I began adding levels for the quarter deck and forecastle.


Forecastle and quarterdeck added.

Then onwards to cutting out the sides.. the first attempt didn't go too well so I redid it (the side has to be a tad longer than the ship to make up for the curved hull).

Both sides done.. 


After both sides were done I added the bow and some card on the stern. I can't figure out if Marks ship had the stern part of the hull sides split so as to make the hull narrower at the bottom. But for now I will just go with this. 

Fairly pleased with it.. And may attempt to do 2 or 3 ships at a time once this one is done..... 

Wednesday, 10 July 2013

Slow return....

I was on a roll at the start of the year, but stress at work combined with my mother selling her house and reducing her living space by some 60% took out most of springs sparetime. 

Last week-end the anual Åcon took place and I worked like a madman in the week up to the con getting ready with rules and stuff. 

Now that I am slowly getting back in the saddle again it is time for a small status on what projects I have on the table. 

- new rules for next years pirate game at Åcon
- finishing the first 15mm Rally Round the King army
- doing a second 15mm Rally Round the King army so my son can kick my butt in RRtK
- get more characters (28mm) ready for my THW space RPG style game.. (*)
- get some 28mm fantasy minaitures ready for a THW Warrior Heroes Legends campaign for my son. 
- getting some card Age of Sail build after the same principles as Mark Burgess has done here
- paint up my newly acquired 15mm Khurasan scifi miniatures
- finish a few 20mm buildings for ww2 gaming
- painting up more 20mm germans for Face of Battle (and TooFatLardies CoC later this year)
- paint up some 20mm US paras for my son so he can kick my butt in what ever ruleset we end up with.

This is just about it.. 

(*) I was planning on doing some card board space ship/station, but caved in and invested in the Mantic Kickstarter for Deadzone and their nifty new terrain, so I am kinda planning on using the stuff from there instead.

All in all it seems that I have a LOT to do ;)

And to top it all off - I really really need some trees for general gaming... Too bad they are so expensive.. 

Right this was just a short status - I hope to get more stuff up here soon - vacation is only a few days away so I should be able to actually get something produced soon.